Peel and stick backsplash tiles are a miracle for DIYers, offering a quick, affordable way to transform a kitchen or bathroom. They eliminate the messy grout and difficult cuts of traditional tiling. However, even with this simple material, there's one area that stops people in their tracks: installing around electrical outlets.
Whether you are dealing with rigid core peel and stick tiles like SPC and LVT or more flexible materials like standard vinyl and gel, installation around electrical outlets is often the toughest part. Many people search for "how to cut peel and stick tile around outlets" and feel overwhelmed by complex tutorials.
Good news: it's not as difficult as you think! Today, we're sharing a straightforward guide, including a game-changing trick for subway tile sheets, that will help you tackle this challenge like a pro.
Step 1: Prep the Area for Safety and Cleanliness
1. Safety First: Locate the corresponding circuit breaker and turn off the power to the wall you are working on.
2. Remove Outlet Covers: Use a screwdriver to take off all your outlet plates and put them aside.


3. Clean: Use a household cleaner and a clean dry cloth to ensure the wall surface is smooth, clean, and completely dry.
Step 2: Tile Up to the Outlet
Start laying your tile sheets from your designated starting point (usually a bottom corner) and continue until you reach the sheet that is obstructed by the outlet box.

View products shown in the image
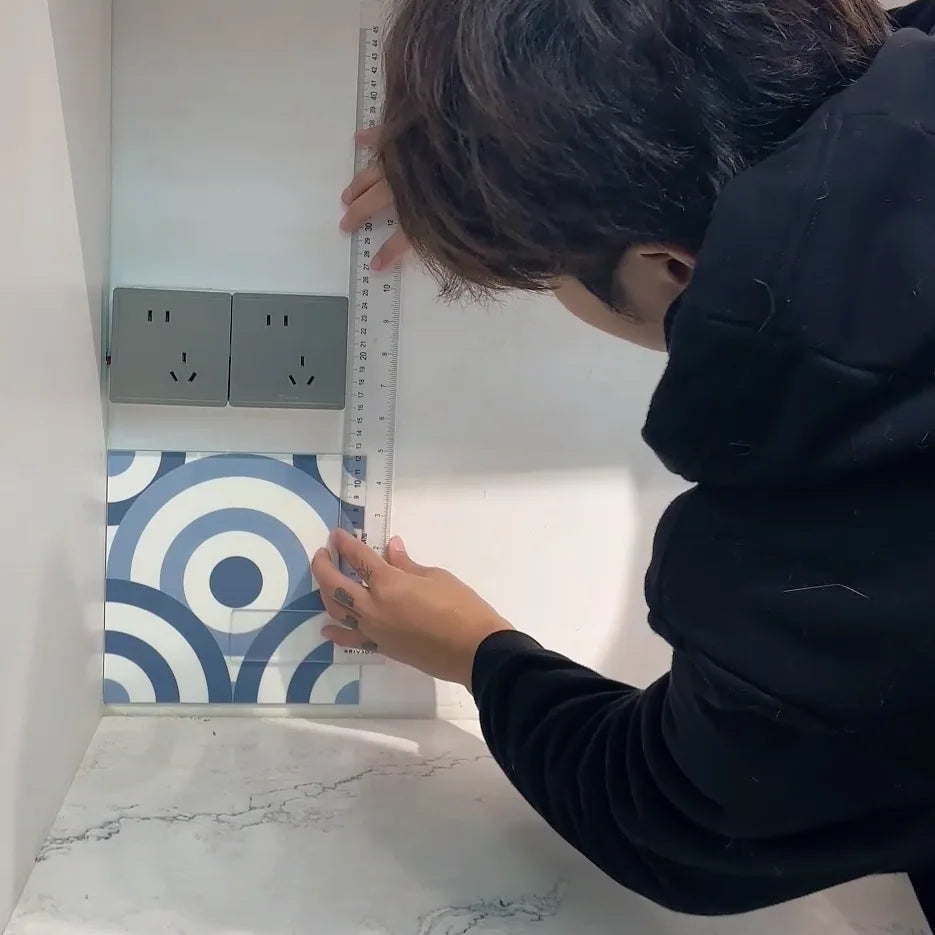
Step 3: Measure, Mark, and Cut
The key to a professional finish is selecting the right cutting technique based on your tile material. We've broken down two main approaches depending on whether your tile is rigid or flexible.
I. For Rigid (Thick) Peel and Stick Tiles
If your tile is thicker, semi-rigid, you have two great options:
Method 1: The Easy Puzzle (Box Cutter Only)
This approach turns a large, complicated cut into several small, simple cuts—ideal if you want to avoid power tools. The core strategy is to divide the full tile sheet into smaller pieces before trimming.
1. Divide and Conquer: Mentally identify the sections of the tile sheet obstructed by the outlet box. Your goal is to separate the sheet into smaller, manageable pieces.
2. Separate the Pieces:
-
-
For Multi-Unit Patterns (Like COLAMO Subway Tiles): This is your easiest option!
 Carefully identify and separate the small individual tiles that fall directly into the outlet area by cutting along the simulated grout lines/seams.
  These individual tiles become your smallest puzzle pieces.
-
For Single-Piece Patterns (Like Graphic Tiles): For tiles that are a solid sheet, you must measure the distance to the outlet first, and then use your box cutter to precisely cut and separate the piece into two or three large sections around the obstruction.
Your Easy to Follow Guide: How to cut peel and stick tile

-
3. Measure and Trim: Once you have the smaller pieces, use your tape measure to determine the exact cut dimension needed for the gap on each piece to fit around the outlet box. Then, use your box cutter to precisely trim the edge of each piece.


Method 2: The Power Cut (Oscillating Saw)
This method involves making one precise, direct cut using a power tool.
1. Flip and Mark: Place the entire tile sheet face down on a protected surface. You will mark your cut lines on the back of the tile.
2. Transfer Measurements (Critical Step): Since the sheet is flipped, you must reverse your vertical measurements. Transfer the exact dimensions of the outlet box, remembering that your marks must be mirrored on the backside.
3. Cut: Once the full rectangular outline is marked, use your oscillating saw (multi-tool) to carefully make the cut. Cutting from the back helps protect the tile's finished surface.
II. For Flexible (Thin) Peel and Stick Tiles
If your tile is made of flexible vinyl or thin gel material, the process is simpler.
Method 3: The Direct Snip (Box Cutter or Scissors)
This method involves marking the area and making one swift cut.
1. Flip and Mark: As in Method 2, place the sheet face down and transfer your reversed vertical measurements to the backside to mark the rectangular cutout area.
2. Cut: Use a box cutter or strong, sharp scissors to easily cut out the marked rectangle. The flexibility of the material makes this method fast and accurate.
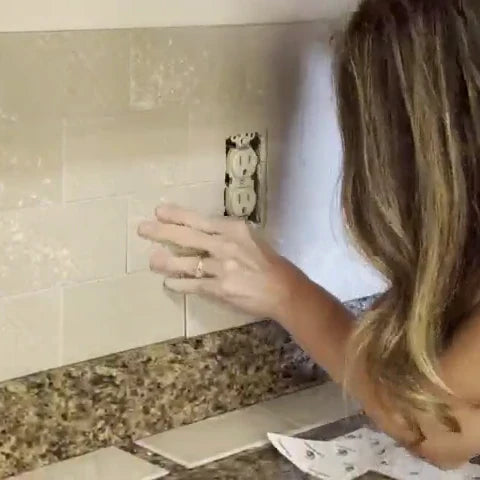
Step 4: Smooth and Finish
The final step is to make your work look seamless and professional.
1. Install: Peel the backing partially and align the newly cut tile piece carefully to the wall. Adhere the piece slowly, peeling the rest of the backing away as you press it down.
2. Secure Adhesion:
- For Flexible/Vinyl Tiles (Smoothing): Use your small piece of plastic or credit card to firmly press the tile down. Work from the center outward to push out any trapped air bubbles and ensure the strongest possible bond.
-
For Rigid/Thick Tiles (Securing): Apply strong, even pressure across the entire surface with your hand or a rubber roller.

3. Reinstall Covers: Finally, reattach the outlet cover plates over the tile. This is your final trick—the cover plate will hide any minor imperfections in your cuts, giving you a perfect, professional finish!
Congratulations—you've successfully installed your peel and stick backsplash around the hardest part of the job! Now you can continue tiling the rest of your space with confidence.