Colamo Tile Installation Guide
Can I really install your tiles myself, even if I have little to no DIY experience?
You absolutely can!😊 At Colamo, we believe transforming your space should be an exciting and hassle-free journey, not a daunting task. Just follow our clear guidelines and helpful tips, and you'll be amazed at the stunning results you can create.
1. Make sure the surface is flat, dry, and free of dust and debris.
Does this go over existing tile?
Yes! 🙋♀️Our tiles feature a rigid core and are thick enough to naturally bridge over deep grout lines.
However, try to ensure the surface is as flat as possible. If your existing tiles have texture, we recommend lightly sanding the surface.
For extra security on uneven surfaces, you can add some adhesive, like a spray adhesive or liquid nails to ensure proper bonding.
Before installation, use an all-purpose cleaner to remove any grease or residue. Always make sure the surface is dry and dust-free to ensure the best adhesion.
Can I install peel and stick tiles on textured walls (like orange peel)?
For best results, a smooth and flat surface is always recommended.
However, our peel and stick tiles can still be installed on lightly textured walls, such as orange peel. We’ve had many customers successfully apply them directly without sanding.
What to expect:
- Minor Gaps: On textured surfaces, you may notice that some tiles don’t sit perfectly flush—this is normal. A simple fix is to apply silicone caulk (just like grout) between the tiles. This helps fill small gaps and creates a cleaner, more finished look.
- Extra Security: If you are concerned about the wall texture affecting the bond, applying a bit of spray adhesive (such as 3M Super 77) to the wall before installation can provide extra peace of mind and ensure the tiles stay firmly in place.
Do I need any special tools or grout for installation?
No special tools or messy grout are needed! Colamo's unique chamfered edge design provides the flexibility for beautiful installation without traditional grout. While our seamed design already creates the elegant appearance of a caulked tile without the hassle, grouting remains a personal choice for those who prefer it, and some customers have successfully applied it.
For cutting, a utility knife and a straight edge are typically all you need.
How do I prepare my wall surface before applying the tiles?
Ensuring your surface is flat, dry, and free of dust and debris is crucial for optimal adhesion and a flawless finish. We recommend cleaning the surface thoroughly and allowing it to dry completely before beginning your installation.
I'm concerned my wall might not be clean or flat enough for the adhesive to stick well enough. What should I do?
Colamo peel and stick tiles are designed with strong, reliable adhesive that adheres excellently to clean, flat, dry, and dust-free surfaces. Based on your concerns, some customers find that using an additional spray adhesive can provide extra security, especially for surfaces that are extremely porous, uneven, or difficult to clean. However, ensuring your wall is thoroughly cleaned and prepped remains the best practice for optimal adhesion.
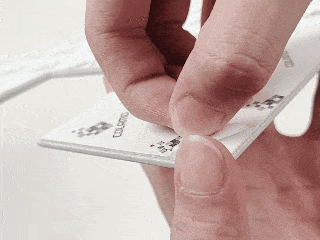
2. Point of Easy Cutting
The secret to effortless and precise cutting is the score and snap technique, not direct cutting.
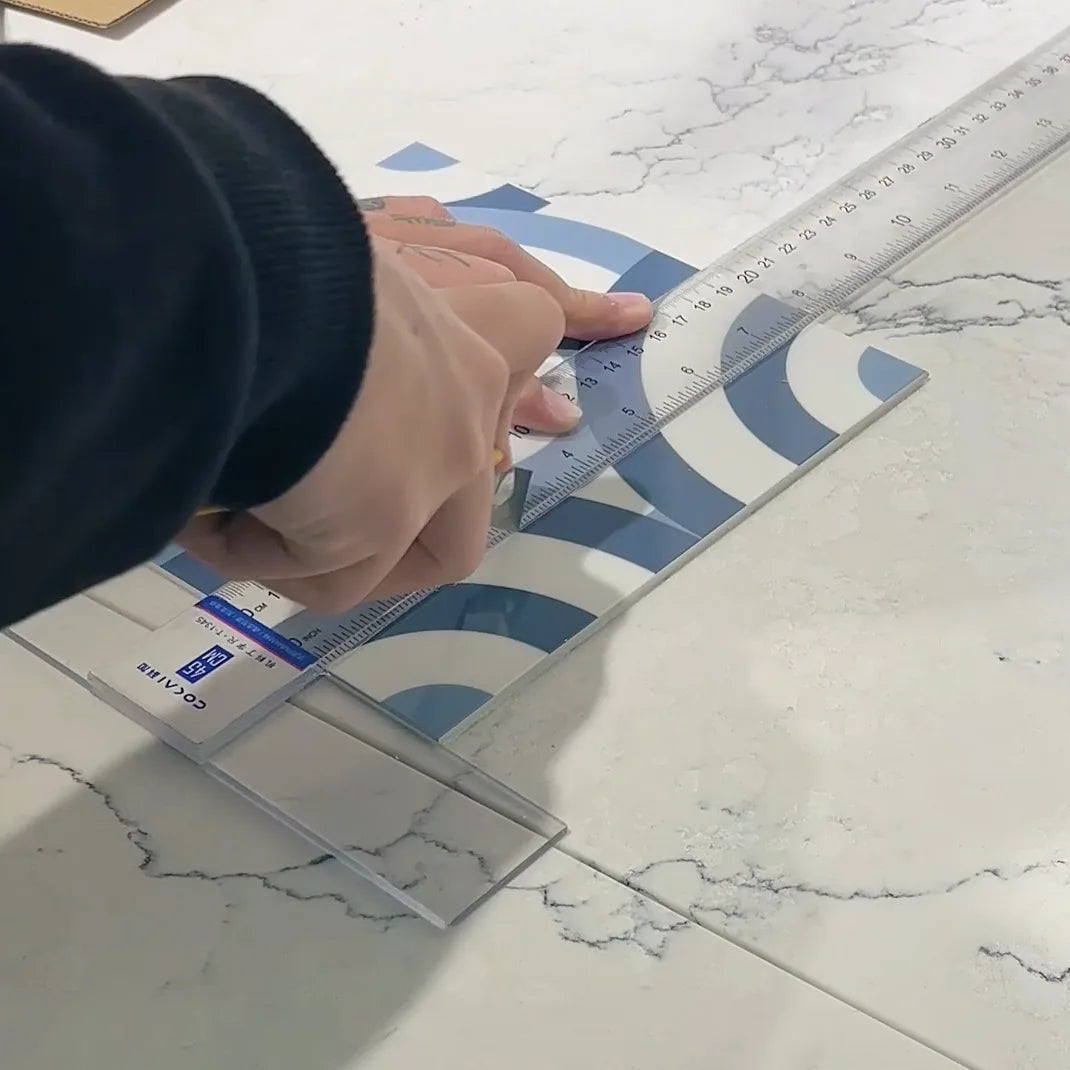
Score Your Line Precisely
Use a straight ruler or similar straight edge. With a sharp utility knife, gently mark a straight line on the tile surface. Pass the knife along the line a few more times – there's no need to go crazy with the pressure because you're scoring, not trying to cut through the tile! The goal is just to create a visible, clear score line.
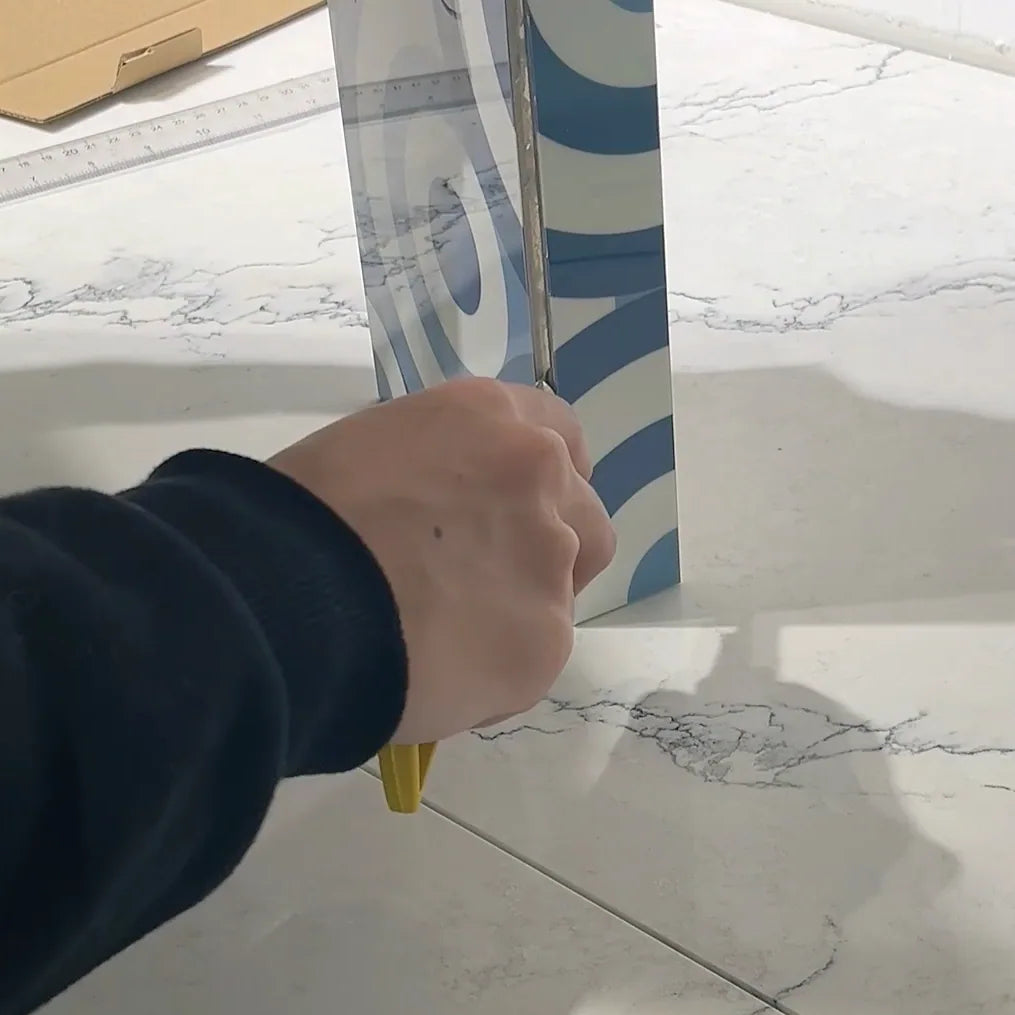
The Clean Snap
Now that the score line is created, place the tile along the edge of any straight table or sturdy surface with the scored line aligned with the edge. Apply firm, steady pressure with your hand to one side of the line, and the tile will break completely straight where you want it.
Fully Separate
Run the utility knife along the score line to fully separate the tile. It's truly that simple!
Do you have a recommended grout color for filling gaps around cabinets or walls?
Yes! For those tight spots, we recommend using Sanded Caulk (instead of grout) because it remains flexible. Any generic "Light Gray," "Silver," or "Frost" color will blend beautifully with the tile seams.
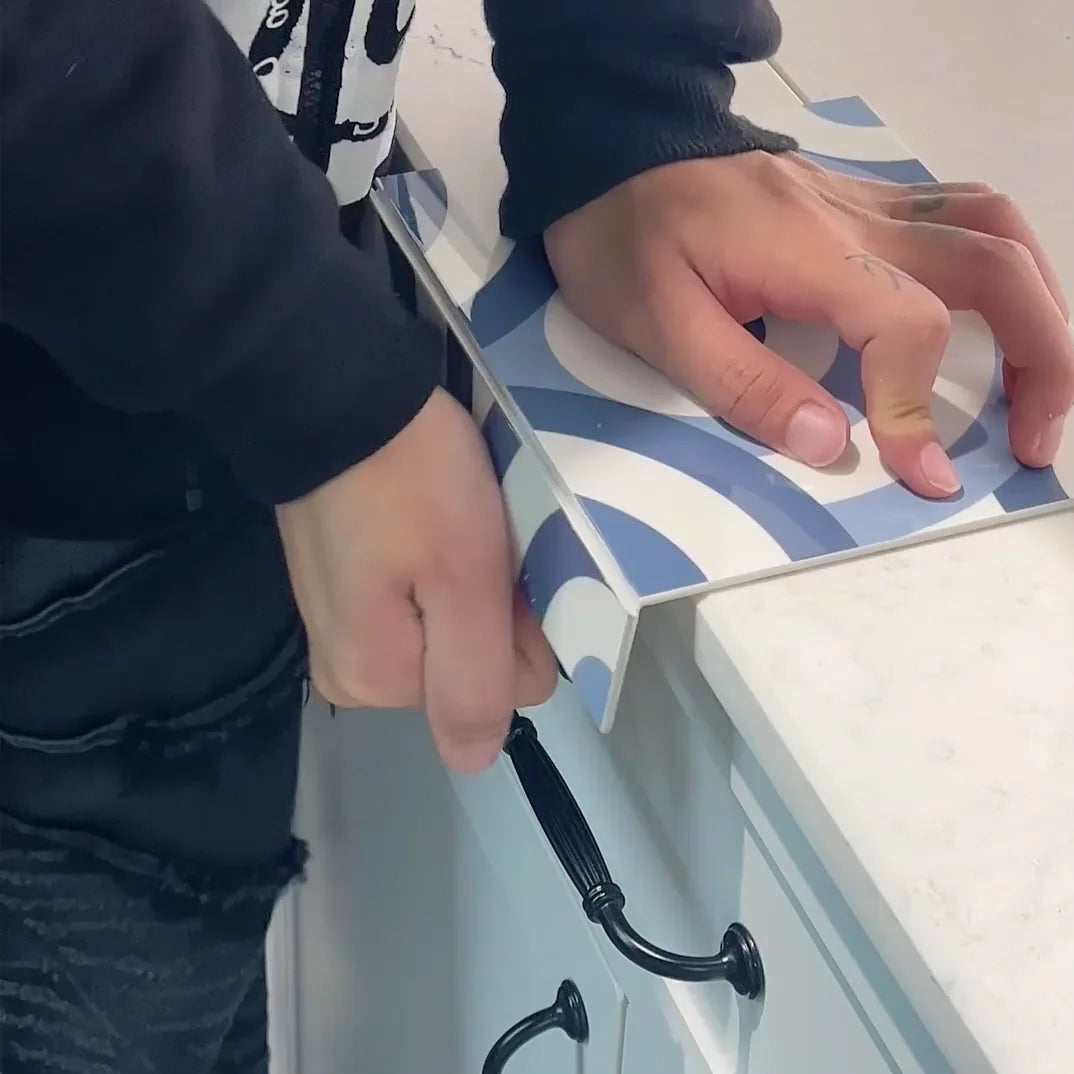
How do I install tiles on an outside corner?
All you need to do is install the full tiles at the outside corner first. Because our tiles feature a beveled edge design, the installation is actually much safer than you might think!
If you look at the edge profile, it doesn't create a sharp 90-degree point. Instead, it forms a smooth, flat 45-degree transition at the corner.
How to Remove the Tiles?
Here is the safest way to do it:
1. Heat it up: Use a blow dryer on high heat to warm the tile surface.
2. Start at a corner: Use a putty knife to lift a corner.
3. Peel slowly: Pull the tile gently while keeping the heat directed at the area you are peeling.
