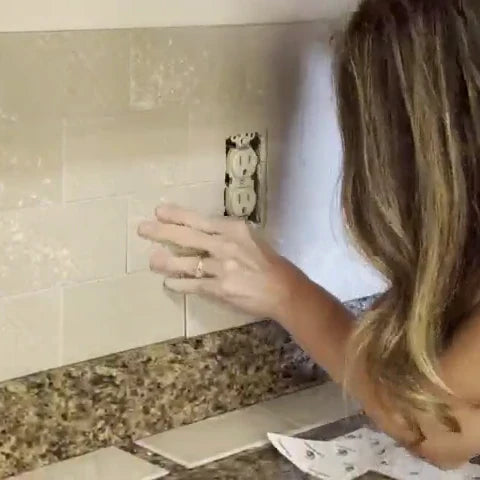
So, you've got your gorgeous peel-and-stick tiles, and you're itching to transform that wall. We get it! The allure of a quick, stylish update is strong. But hold your horses for just a moment. The secret to a peel-and-stick tile job that looks professional and actually lasts isn't in the sticking – it's in the prep!

( View products shown in the image )
Think of it like painting your nails. You wouldn't just slap on polish without cleaning and buffing, right? Same principle here. A little effort upfront will save you a world of frustration (and peeling tiles) down the line.
Here’s your essential checklist for wall prep before you even think about peeling off that backing:
1. Clean, Clean, Clean! (And Then Clean Some More)
-
Why it matters: Dust, grease, grime, soap scum – these are the arch-enemies of adhesion. Your tiles need a perfectly clean surface to grip onto.
-
What to do:
-
For most walls, a good scrub with a degreasing cleaner like TSP (Trisodium Phosphate) or a strong detergent solution (like Dawn dish soap and warm water) is perfect.
-
Wipe down the entire area thoroughly.
-
Crucial: Rinse the wall well with clean water to remove any cleaner residue. Residue can also interfere with adhesion.
-
Let it dry COMPLETELY. We're talking bone-dry. Give it at least 24 hours, or more if it's humid.
-
2. Smooth Operator: Banish Bumps and Fill Flaws
-
Why it matters: Peel-and-stick tiles are generally thin. Any significant bumps, dents, or old wallpaper paste remnants will show through or, worse, create air pockets where the tile won't stick properly.
-
What to do:
-
Run your hand over the wall. Feel for any imperfections.
-
Fill nail holes, small dents, or cracks with spackle or joint compound.
-
Once dry, sand these patches smooth with fine-grit sandpaper.
-
If you have old, flaky paint, scrape it off and sand the edges smooth.
-
Don't forget: Wipe away ALL sanding dust with a damp cloth or tack cloth, then let it dry.
-
Can You Install Peel and Stick Tiles on Textured Walls? (The Honest Guide)
3. Texture Troubles? Consider Your Options
-
Why it matters: Heavily textured walls (like "orange peel" or "popcorn" – though hopefully not on your walls!) mean less surface area for the adhesive to contact. This can lead to poor adhesion.
-
What to do:
-
Slight Texture: If it's very light, you might get away with it, especially with thicker, higher-quality tiles. But it's a gamble.
-
Moderate to Heavy Texture:
-
Option A (Best): Skim coat the wall with a thin layer of joint compound to create a smooth surface. This is more work but gives the best result. Sand smooth and prime.
-
Option B (Easier, for some): Sand down the texture. This can be messy but effective for some types of texture.
-
Option C (If you must): Some people apply a thin, smooth panel (like hardboard or utility panel) over the textured wall and then tile onto that.
-
-
4. To Prime or Not to Prime? (Spoiler: Probably Prime!)
-
Why it matters: Primer creates a uniform, properly sealed surface that promotes maximum adhesion. It's especially important for:
-
Freshly spackled/joint compounded areas.
-
Porous surfaces like new drywall.
-
Walls painted with glossy or semi-gloss paint (the slickness can hinder adhesion).
-
Any wall where you're unsure of the existing paint or surface.
-
-
What to do:
-
Apply a good quality acrylic primer. Something like Zinsser Bulls Eye 1-2-3 is a great all-rounder.
-
Let it dry completely according to the manufacturer's instructions (usually 24 hours). This is not the time to rush!
-
5. Let it All Dry (and Acclimatize!)
-
Why it matters: Moisture is the enemy of adhesive. Any dampness in the wall, cleaner, or primer will compromise the bond. Also, your tiles need to adjust to the room's temperature and humidity.
-
What to do:
-
Ensure your cleaned, smoothed, and primed wall is 1000% dry. Seriously, wait.
-
Unbox your peel-and-stick tiles and let them sit in the room where they'll be installed for at least 24-48 hours. This helps them acclimatize and prevents them from expanding or contracting after installation.
-
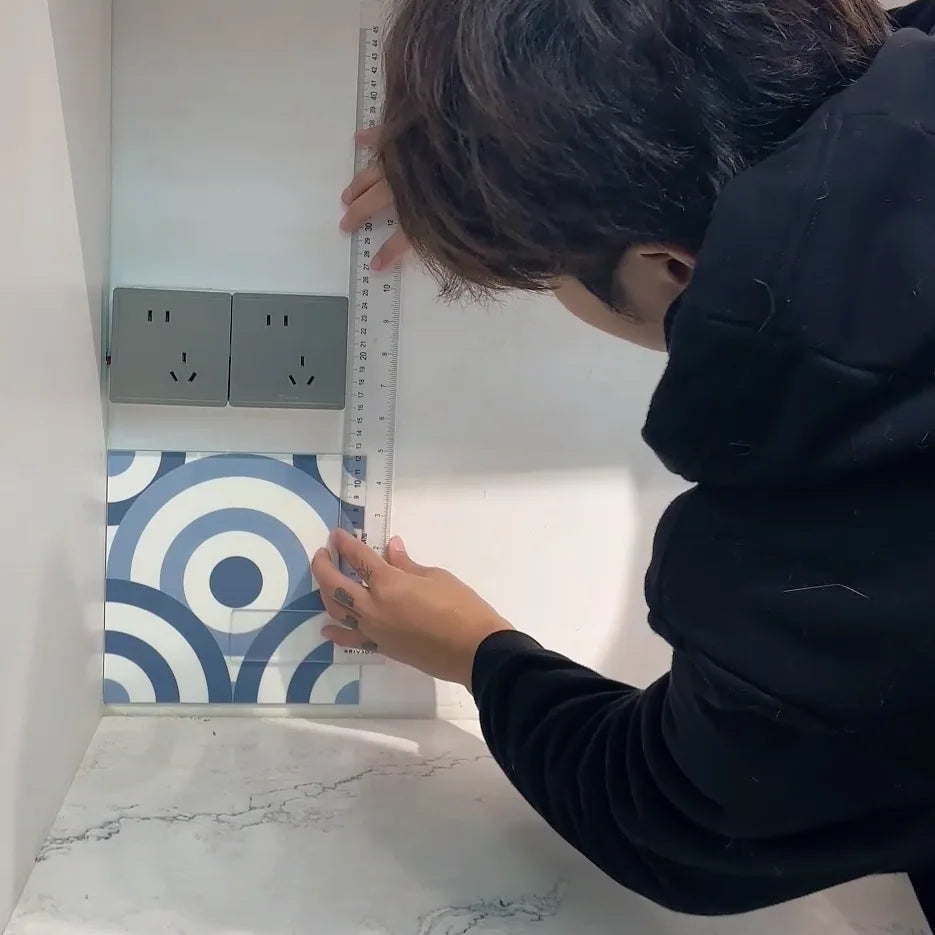
6. Plan Your Attack: Layout is Key
-
Why it matters: While not strictly "wall prep," figuring out your starting point and layout before you stick prevents wonky lines and awkward cuts.
-
What to do:
-
Find the center of your wall or the most visible starting point.
-
Use a level and pencil to draw light horizontal and vertical guidelines. This will ensure your first tile (and all subsequent tiles) go on straight.
-
Do a "dry fit" – lay out some tiles on the floor or hold them against the wall to visualize the pattern and cuts.
-
The Payoff:
Yes, it's a few extra steps. But taking the time to properly prepare your wall is the single most important thing you can do to ensure your peel-and-stick tiles look amazing, stick securely, and last for years to come. You'll thank yourself later when you're admiring your flawless, durable new wall!
Happy tiling! Got any other prep tips? Share them in the comments below!