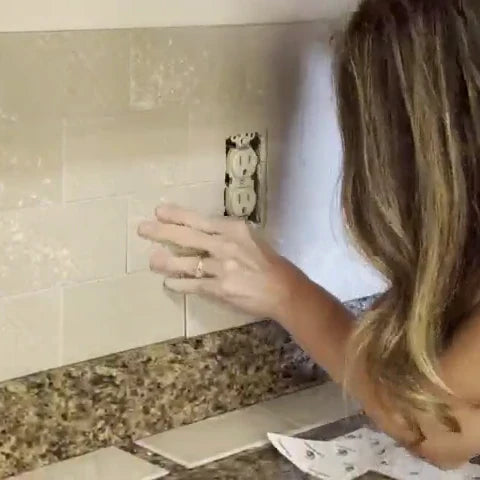
If you live in a North American home, chances are you’re dealing with Orange Peel or Knockdown textures on your drywalls. When it comes to DIY-ing a new backsplash, the most common question we get is: "Will they actually stay on a wall that isn't smooth?"
The honest answer? Yes, but it depends on your approach. In this guide, we’ll break down the "Gold Standard" for maximum stability, and an "Easier Alternative" for those who want to skip the heavy prep work.
Method 1: The Gold Standard (Sanding)
If you are looking for a professional-grade result that is built for long-term durability, this is the method recommended by professional carpenters and renovation experts.
Why Sanding Works
Peel-and-stick tiles need a flat surface to perform their best. Texture creates "peaks" and "valleys," meaning your tile is only touching the tips of the bumps. By knocking those peaks down, you maximize the contact area between the wall and the tile’s adhesive. This approach is designed for long-term performance, creating a solid, unified bond that resists heat and humidity.
How to do it:
- The Quick Sand: Use a 120-grit sanding block to lightly sand the area. You don't need to remove the texture entirely—just flatten the "peaks."
- The Critical Clean: This is the step most people skip. Sanding creates fine dust. If you stick tiles to dust, they will fall. Wipe the wall thoroughly with a damp cloth or a TSP cleaner to ensure a pristine surface. Tip: Make sure the wall is 100% bone-dry before you peel and stick.
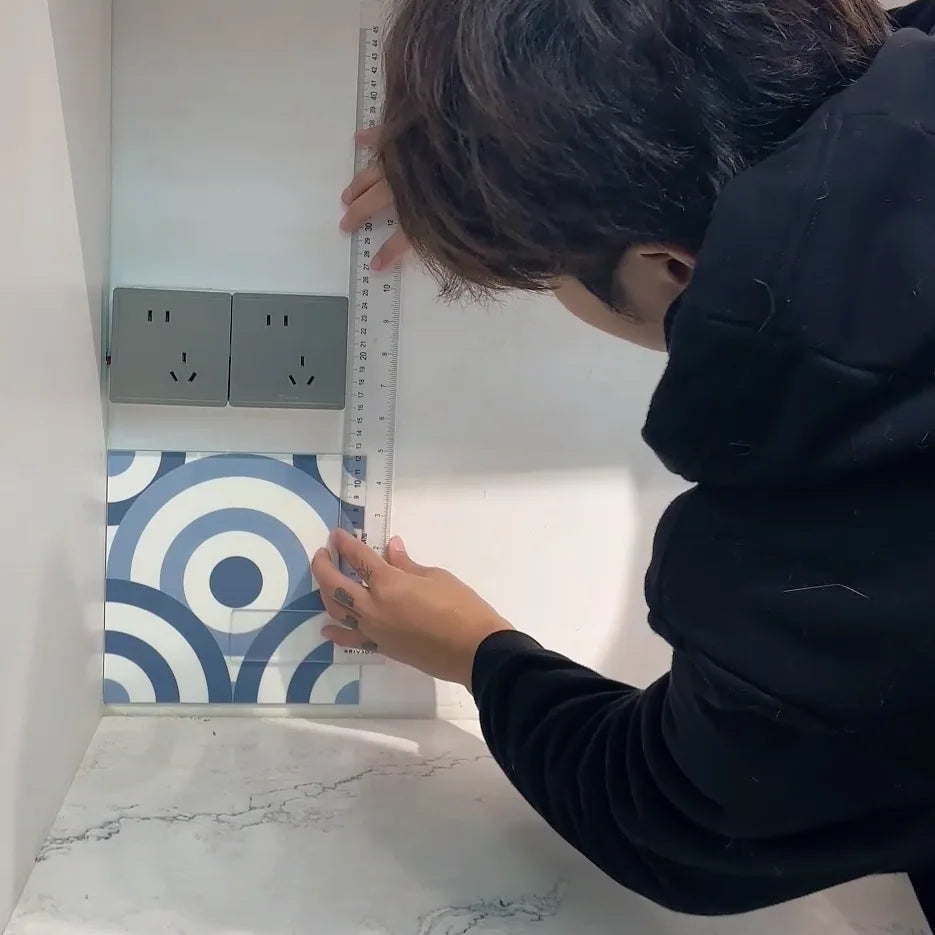
Method 2: The Easier Alternative (No-Sanding + Extra Security)
We get it—not everyone wants a house full of drywall dust. If your wall texture is light to medium (like orange peel) and you’re looking for a low-mess alternative that still looks high-end, you can "bridge" the texture gaps using a combination of extra grip and a clever finishing trick—silicone caulk.
One of our recent customers shared exactly how they handled their non-smooth walls without a sander:


"These tiles are thick and definitely do not look like cheap peel and stick tiles. Our walls are not smooth. So some of the tiles didn't look exactly flush but I used silicone caulk like I would grout between all the tiles and it fixed the issue."
\n \n \n ","contentAlignProduct":"Center","infoProduct":{"id":"gid://shopify/Product/8068705616067","title":"COLAMO Crystal Glossy White Peel and Stick Backsplash Subway Tile","handle":"crystal-glossy-white-peel-and-stick-backsplash-subway-tile","currencyCode":"USD","amountMax":"46.88","amountMin":"2.99","price":"46.88","compareAtPrice":null,"imagesUrl":"https://cdn.shopify.com/s/files/1/0573/8577/9395/files/colamo-glossy-cumulus-white-subway-peel-and-stick-tile-cs021001-main.webp?v=1768187551&width=600","urlStore":"/products/crystal-glossy-white-peel-and-stick-backsplash-subway-tile","altImage":"Colamo premium glossy Cumulus White subway peel and stick tile, soft off-white rectangular wall tile for a sophisticated kitchen or bathroom DIY project."},"colorDiscount":{"hue":356,"saturation":0.74,"brightness":1},"colorTitle":{"hue":17.82,"saturation":0.7481,"brightness":0.5294,"alpha":1},"colorPrice":{"hue":0,"saturation":1,"brightness":0},"cssContent":"","activeDecimals":false,"decimalsPrice":2,"isRemoveBranding":true,"hidden":false,"locked":false,"blockName":"Text and product","componentId":"undefined"}

How to pull it off flawlessly:
- Deep Clean: Since you aren't sanding, you must remove every bit of grease and oil from the wall so the adhesive can grip the texture as tightly as possible. Tip: Make sure the wall is 100% bone-dry before you peel and stick.
- Optional "Peace of Mind" Grip: If you are concerned about heavy texture affecting the bond, consider using a spray adhesive (such as 3M Super 77). Applying a light mist to the wall before installation provides extra security, ensuring the tiles stay firmly in place even on uneven spots.
- The Caulking Secret: Because the wall is uneven, some tiles might not sit perfectly flush. Use a color-matched silicone caulk to fill those tiny gaps between tiles, just like you would grout a real ceramic tile.
- The Result: The caulk hides the unevenness and the spray adhesive (if used) reinforces the bond. You get that "flush" professional look without the dust.
Final Verdict: Which Method Should You Choose?
Choose Method 1 (Sanding) if your wall texture is heavy or pronounced (such as knockdown), or if you want the most consistent, long-term adhesion.
Choose Method 2 (Easier Alternative) if your walls have light to medium texture (such as standard orange peel) and you prefer a faster, dust-free installation—while still achieving solid results with proper preparation.
No matter which path you take, the beauty of a DIY project is making it work for your home.
Ready to start your transformation?
Explore Your Style at Colamo